

Fitting a glass splashback is one of the most satisfying kitchen upgrades you can do yourself. With the right preparation and a bit of patience, most people can complete an installation in a couple of hours — no specialist tools required.
This guide covers everything from wall preparation through to the final seal, including how to handle sockets, corners, and common mistakes worth avoiding.
So, How To Fit a Glass Splashback?
What You'll Need
Before you start, get everything together. Stopping mid-install to find a missing tool is how mistakes happen.
- Glass splashback, cut to size
- Neutral cure, non-solvent silicone adhesive (one tube per square metre of glass)
- Clear silicone sealant
- Silicone gun
- Spirit level
- Pencil or chinagraph pencil
- Cleaning cloth and isopropyl alcohol or methylated spirit
- 2mm plastic spacers
- Safety gloves and eye protection
One thing worth emphasising on the adhesive: always use neutral cure, non-solvent silicone. Standard adhesives or solvent-based products can react with the paint or print on the reverse of the glass and cause damage. If your splashback is printed, this is especially important.

Product: Wavy White Pattern
Step 1 — Prepare the Wall
Your wall surface needs to be flat, dry, non-porous and free of any dust, grease or flaking paint. Glass splashbacks will bond to plastered walls, painted walls and existing tiles — but the surface must be sound.
Run your hand across the wall and check for any obvious bumps or hollows. Small imperfections can be compensated for with slightly more adhesive in hollow areas, but significant unevenness will cause problems.
Clean the entire surface with isopropyl alcohol or methylated spirit and a lint-free cloth. Allow it to dry fully before continuing.
Step 2 — Do a Dry Run
Before applying any adhesive, hold the splashback up to the wall to check the fit. Confirm the panel sits correctly in the space, that any cutouts for sockets align properly, and that the panel is the right size top to bottom and side to side.
Check there is at least a 110mm gap between the rear of your hob and the face of the splashback. This is the recommended minimum clearance for heat safety.
Use a spirit level to mark a horizontal line on the wall if needed — this helps you position the panel accurately without relying on worktop level, which may not be perfectly flat.
Step 3 — Apply the Adhesive
Lay the splashback face-down on a soft surface to protect the front. Apply the adhesive in evenly spaced blobs of roughly 20mm diameter, spaced approximately 100mm apart, working across the entire back of the panel. Keep blobs at least 10mm back from each edge to prevent any squeeze-out once the panel is pressed against the wall.
Do not apply adhesive in continuous lines or near the perimeter — this prevents the adhesive spreading outward when you apply pressure.
Step 4 — Fit the Panel
Place 2mm plastic spacers on the worktop or upstand at the base of the fitting area. These give you a small gap at the bottom for the silicone seal and prevent the panel sitting directly on the surface.
Carefully lift the splashback into position and press it firmly and evenly against the wall. Apply consistent pressure across the whole surface for around 30 seconds. If any area feels loose or bouncy, remove the panel gently and add additional adhesive to that spot before reapplying.
Use your spirit level to confirm the panel is sitting straight. Make any minor adjustments while the adhesive is still fresh.
Step 5 — Support While Curing
The adhesive needs a minimum of 24 hours to cure before the splashback can support its own weight unsupported. If your panel is not sitting on a worktop, use temporary supports or tape to hold it in position while the adhesive sets.
Do not remove the spacers until the adhesive has fully cured.
Step 6 — Seal the Edges
Once the adhesive has set, remove the spacers and apply a neat bead of clear silicone sealant around all four edges of the panel. This creates a watertight seal that prevents moisture getting behind the glass — particularly important around hobs and sinks.
Smooth the silicone bead with a wet finger or professional silicone smoother. Remove any excess carefully before it dries. Leave the sealant to cure for a further 24 hours before using the kitchen normally.
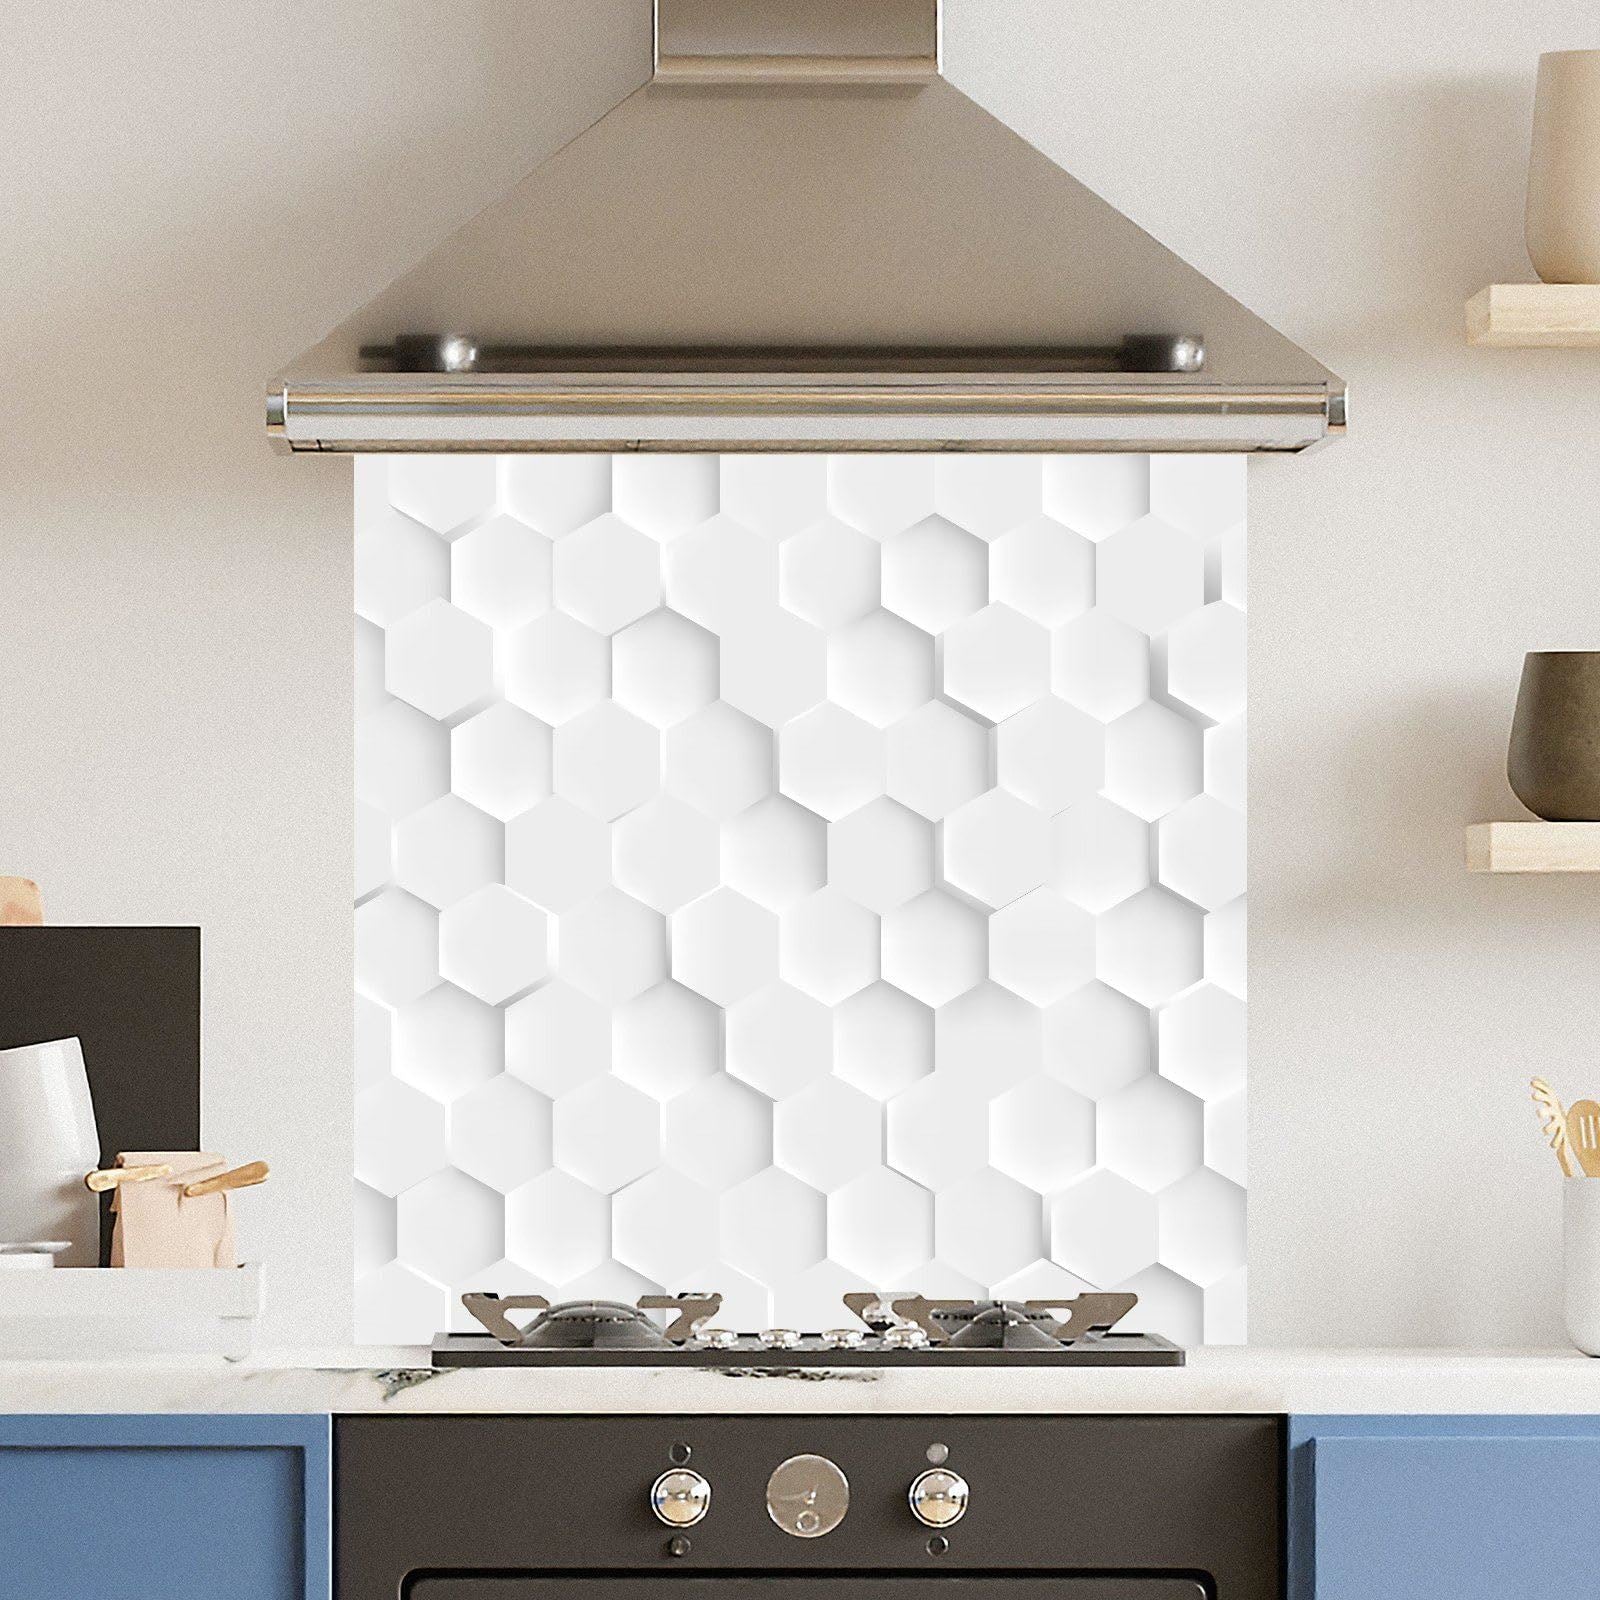
Product: White Hexagon
How to Handle Sockets and Switches
If your splashback has pre-cut holes for sockets or light switches, these should be cut before the glass is toughened — you cannot drill or cut toughened glass after the fact.
When installing around sockets, turn off the power at the consumer unit before you begin. Remove the socket faceplates and refit them over the glass once the panel is in place. The faceplate should overlap the cutout edges, creating a neat and safe finish.
Never leave live wiring exposed during installation.
How to Fit Two Panels at a Corner
If your kitchen requires two panels that meet at an internal or external corner, each panel must be cut accurately before installation. Apply the first panel and allow to fully cure before fitting the second. Never force two panels together — glass under lateral pressure can crack.
Use clear silicone sealant to fill any corner join between panels rather than trying to achieve a hard edge-to-edge contact. This also allows for minor movement in the wall structure without risk of cracking.
Common Mistakes to Avoid When Fitting a Glass Splashback
Using the wrong adhesive — solvent-based products damage printed and coloured glass. Always use neutral cure silicone only.
Fitting directly onto an unclean wall — grease, dust or loose paint will prevent the adhesive bonding properly.
Skipping the spacers — resting glass directly on a hard surface without spacers makes it nearly impossible to seal the base properly.
Overlooking the heat clearance — 110mm minimum between the rear of the hob and the splashback face is a safety requirement, not a suggestion.
Cutting toughened glass — toughened glass cannot be cut after manufacture. Always confirm your measurements before ordering.
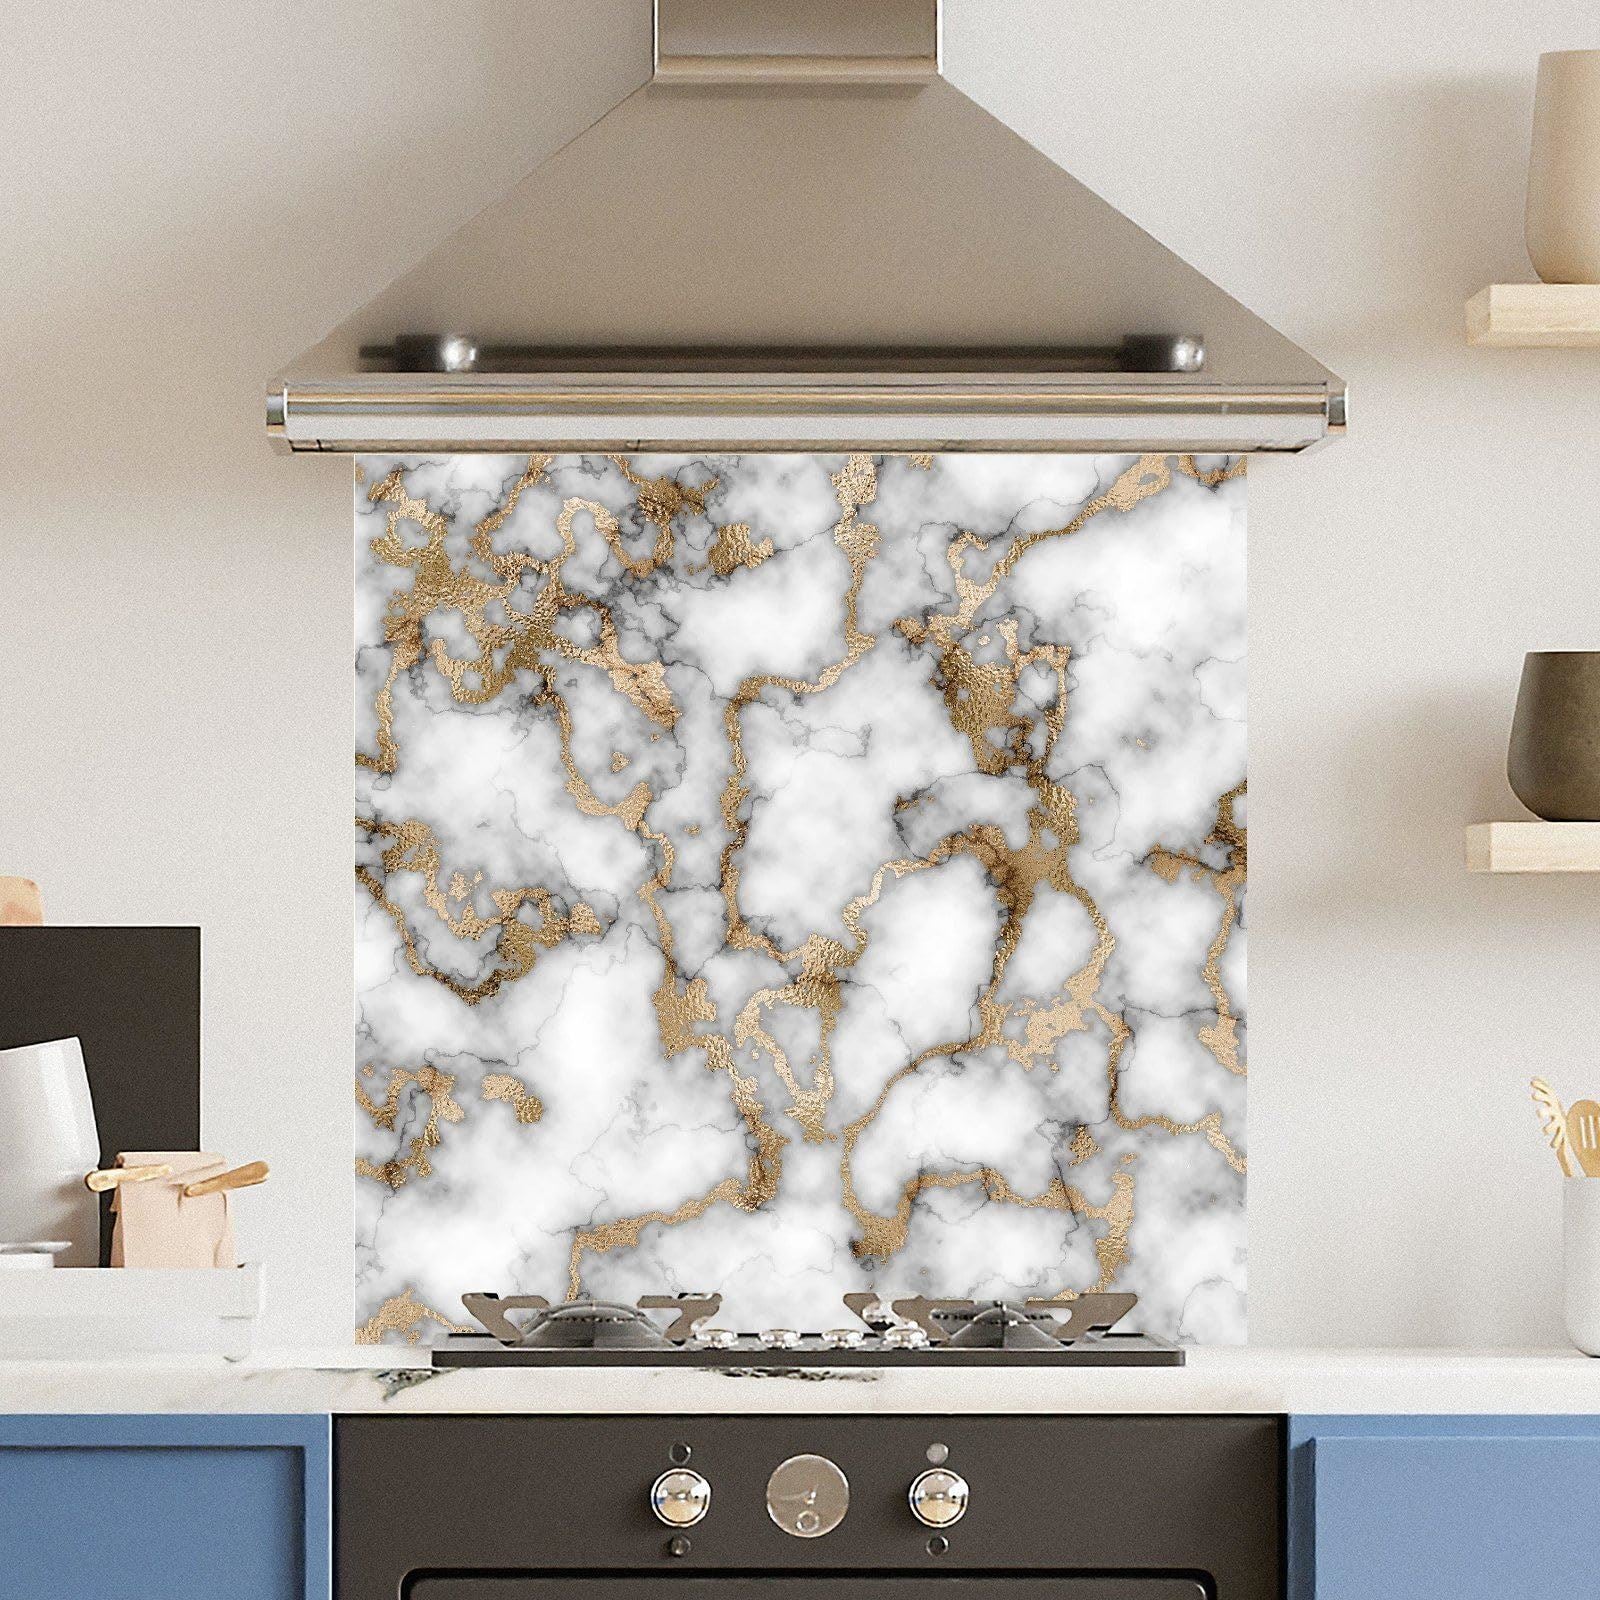
Product: White Gold Marble
Can You Fit a Glass Splashback Over Existing Tiles?
Yes, in many cases you can. The tile surface needs to be fully intact, firmly attached, flat and clean. Loose or cracked tiles must be removed and replastered first. Fitting over tiles adds a few millimetres of depth, so check your socket boxes have enough clearance before proceeding.
Ready to Order?
Every splashback in our range is manufactured from 6mm toughened glass, precision cut to your measurements, with polished edges included as standard. Browse our premium colour splashbacks or explore our full kitchen splashback collection to find the right design for your kitchen.
For more detailed guidance on installation clearances and safety requirements near heat sources, the Glass and Glazing Federation publishes authoritative industry standards.

